White Christmas
White Christmas
Happy Christmas Eve everyone! It's been a minute since I posted because 1. I have been slammed at work and 2. I haven't really been inspired. The first is just life and will probably continue until at least February. However, the second is on me. I am fully aware that when you are creating art, you just do it: Inspiration or not. You sit down and make something. You may not like it or want to share it, but you do it. Eventually, stuff will line up again.
So that's my plan for the new year. I'm going to sit down and just do it at least weekly. You may not see all of it posted but rest assured that I will be doing it and at some point soon, there will be some things coming out.
That leads us to "White Christmas". This is something I did just spur of the moment with no real clear cut image in my head. I knew I just wanted to make something with a Christmas theme. This is not one of my favorites but it does seem to kind of speak to the season. So I hope you enjoy it! Have a Merry Christmas and a Happy New Year!
“Daisy Chain”
Daisy Chain
I really like this one! It goes away from my usual depressing or at least dark pieces I usually produce. This one stemmed from the piece I did called “Its Just Rain” showing the Adamski Effect. I was intrigued with some of the tools that I used to do that one because some were not tools I’ve played around with much.
I had a picture from maybe 18 years ago or so, from when I first got into digital photography. It was a simple picture of a daisy. I decided to apply the technique and then make a tryptic out of it with three color palettes. I dropped a little bit of random writing in the background and also let the color fade off outside of each individual picture.
Hope you enjoy it!
The Adamski Effect - “It’s Just Rain”
It's Just Rain
This is my first attempt at the "Adamski Effect" technique. The Adamski Effect was created by Josh Adamski. It uses blur techniques to create the illusion of movement, while normally keeping the subject in sharp focus. I have to admit that I cheated a little with this one. Normally, the subject is part of the original picture but in the case of the photo I used, didn't have a subject that worked. The subject of that picture is the building which if I keep that in sharp focus, there isn't much left to blur. Consequently, these are two separate pictures. The background is a photo that my daughter's friend Heather took and kindly let me do some Photoshop magic to it. The little girl is a stock image from Pexels.
In the technique, you normally would select the subject and copy it to a new layer, clean up the background and apply the blur to it. Then blend the subject back in. This is essentially what I did except I I didn't have to select and copy the subject.
I really like the way this turned out!
Seth At The Door
Seth At The Door
Hi Folks! Let me introduce you to my Grandfather, Seth. You may recall a couple of posts back I created a painting from one of his old photographs. Even though we only met once, that I can remember, he seems to have influenced me in my art. You see, Seth was quite the avid photographer, which is a pastime I got into in high school. I had wondered for a long time where that came from because no one in my family was into photography. When I found out how much he liked to take photos (even had his own darkroom) I always like to think that, just maybe, that’s where I got it from.
Anyway, I ran across this old photo of Seth and I wanted to try to turn it into a painting in a kind of late 19th century early 20th century look. It took some finagling to turn it into something I liked. It kept ending up either too much like a photo or it became unrecognizable as a painting. I think I struck a happy medium.
Still Life Triptych
"Still Life Triptych"
I took some of my still-life efforts from last week and created a Triptych. For those of you not familiar with a triptych, you take 3 pictures that are related in some way and display them together as one piece. If you only use two, it is called a Diptych. I used to do diptychs and Tryptichs all the time when I was taking more pictures, but when I stopped taking pictures so much and concentrated on just Photoshop Composites, I kind of got out of it. I'm enjoying creating them, as well as picking up the camera again.
“Rowboat On Water”
"Rowboat On Water"
This one was interesting. It's a bit simpler than I normally do but I still think it came out well for what I was going for. I started with an old picture that my grandfather took, I believe in the 1950s. Since he was the chief forester of the state of Virginia, I am assuming this was taken on a Virginia lake.
I have a few of my grandfather's photographs and had never tried to use them but I thought it was time. First, let me show you the original photo.
Original
I believe this was originally a slide of his that I had digitized many years ago. I think all of the black marks are scratches, so I got in Photoshop and cleaned it up. Then, I noticed the image was quite small so I went into Gigapixel by Topaz Labs and made it bigger so I could work with it. Next, I thought the sky was a bit boring so I switched that out. I also cropped it to a square because I really prefer working with squares. I didn't care for the trees, etc on the right side so I just cropped that out. After that, there were just some color adjustments and retouching and then using some filters to make it look like a painting and I added in the birds because I felt like it needed a secondary subject. I think it came out looking good, albeit simple. Hope you enjoy it!
Trying To Remember How To Photograph A Still Life
"Still Life With A Red Plant"
Hi folks, and welcome back! This weekend I decided to try my hand at something I haven't really done in probably 15 years: The Still-Life.
Now when I tried still life many years ago I didn't have access to the lighting setups I have now, but I have forgotten so much about flash photography that I spent most of this weekend trying to figure out proper exposures and how to get the flash to do what I wanted it to. I also have a video light with an optical spot which is how I got the window shadows in the background.
This was the second picture from my still-life experiment that I tried to process. The first was ok, but it was not what I was envisioning. It had a butterfly and because of the color of a butterfly, I didn't think it lent itself to black and white. Consequently, I tried to process it in color, with a brick background and it was just not working for me. I almost gave up on the whole thing but decided to try again and am much more pleased with this one. Tell me, what do you think?
The Pep Ventosa Technique
"Flowers In A Vase"
What a day I've had! I was scrolling around on YouTube watching stuff on photographic lighting for Still Life pictures. Now you know when you ask YouTube for something, it gives it to you, but every 4-5 vids, there is something that's not really what you searched for. That's what happened. There was a video that was talking about the Pep Ventosa Technique and the picture they had of a tree was both stunning and surreal. My little ADD brain was like "What is this, now?", so I started watching the video and it was a wild technique that I had never thought of. Then I decided to look up Pep Ventosa and when I found his website I almost fell out of my chair! The stuff was amazing!
The quick and dirty explanation is he circles an object taking pictures from all sides. Then, in Photoshop he stacks all the photos as layers. As he goes higher up the layer stack, the photos are given progressively less opacity. That's the basics of it. Of course, you can use blendmodes, or layer masks to remove stuff you don't like or any other thing you can think of.
Now, here in San Antonio, its 108 degrees outside (literally...not an exaggeration) so I am not going out to find myself a tree to try this out with. But it dawned on me that there was a bouquet of flowers on the table. So I thought about how I could circle it and how all the backgrounds would be the kitchen, the dog eating, the tv, etc. So I thought, instead of me circling it with my camera, what if I make the camera stationary and just rotate the vase? So that's what I set out to do. I still didn't want the kitchen in the background so I took a couple of pieces of white poster board and hung them behind the vase on a couple of light stands. I but another piece of poster board under it. Then I set up my strobe, mounted the camera on the 3 legged thing and got started. I started by marking two spots on the posterboard that the vase was on, one on each side of the vase so as I spun it I could keep it in the same position. I'm not going to post all 18 shots I took, but I'll show you the first one.
Initial Image
Once I was done shooting, I went to Photoshop, imported the pics as a layer stack, and got started. The one above was the base and at 100% opacity. #2 was at about 60, #3 was about 53, and so on. This gives it a somewhat blurry, painterly look, but I never used any blur or any paint filter. In fact, the only filter I used was Camera Raw (I love that thing) to add finishing touches.
Now, unlike a tree outdoors, I had used a solid white background so while the vase looked great, its background didn't. I just used some textures and painted the vase and flowers through them with a layer mask. The top photo is what I ended up with and while, its not even in the same league as the stuff pep was doing, I think it looks pretty good for a first effort. Hope you enjoy it!
“The Antelope”
"The Antelope"
Today I have another in the Animal Portrait series. The original picture was taken at the Y-O Ranch in TX, probably 12 years ago. The Y-O Rach was a great experience, where I even had a giraffe eat cookies from my mouth in an open field. No pens or cages. Anyway, this piece was fairly simple. It had 3 textures a couple of curves layers then some filters for the final look. Also, there is a small bit of AI. In the original picture, the right ear was out of frame in the shot. I widened the picture just a little then used generative fill to add the end of the ear and mimic the texture.
“The Giraffe” - More In The Animal Series
I'm back with more simple texture work and another in the animal series called "The Giraffe". I really like how this one turned out and I only used one texture!
"The Giraffe"
"The Gull" - I'm Starting A New Series
I've been spending a lot of time working on the YouTube channel, "Wil's Digitals", trying to come up with topics, learn how to make videos, not stumble over my words, etc. I decided to do a video about using textures. That episode will be coming out on August 12th and during that episode, I created "The Gull". The video was a little semi-live challenge. You see normally I would decide the topic, pull the things I need together, write out a little script to demonstrate the technique and that would be it. This time, I took a picture of the gull and a couple of random textures and recorded myself both teaching how to use textures and just seeing what I could come up on the fly. This is what I ended up with and I kinda like it. I liked it enough that I am going to start a series of animal shots and using textures to create something more painterly and artistic.
"The Gull"
Project 52 - Week 52 - “The Adventure of a Lifetime”
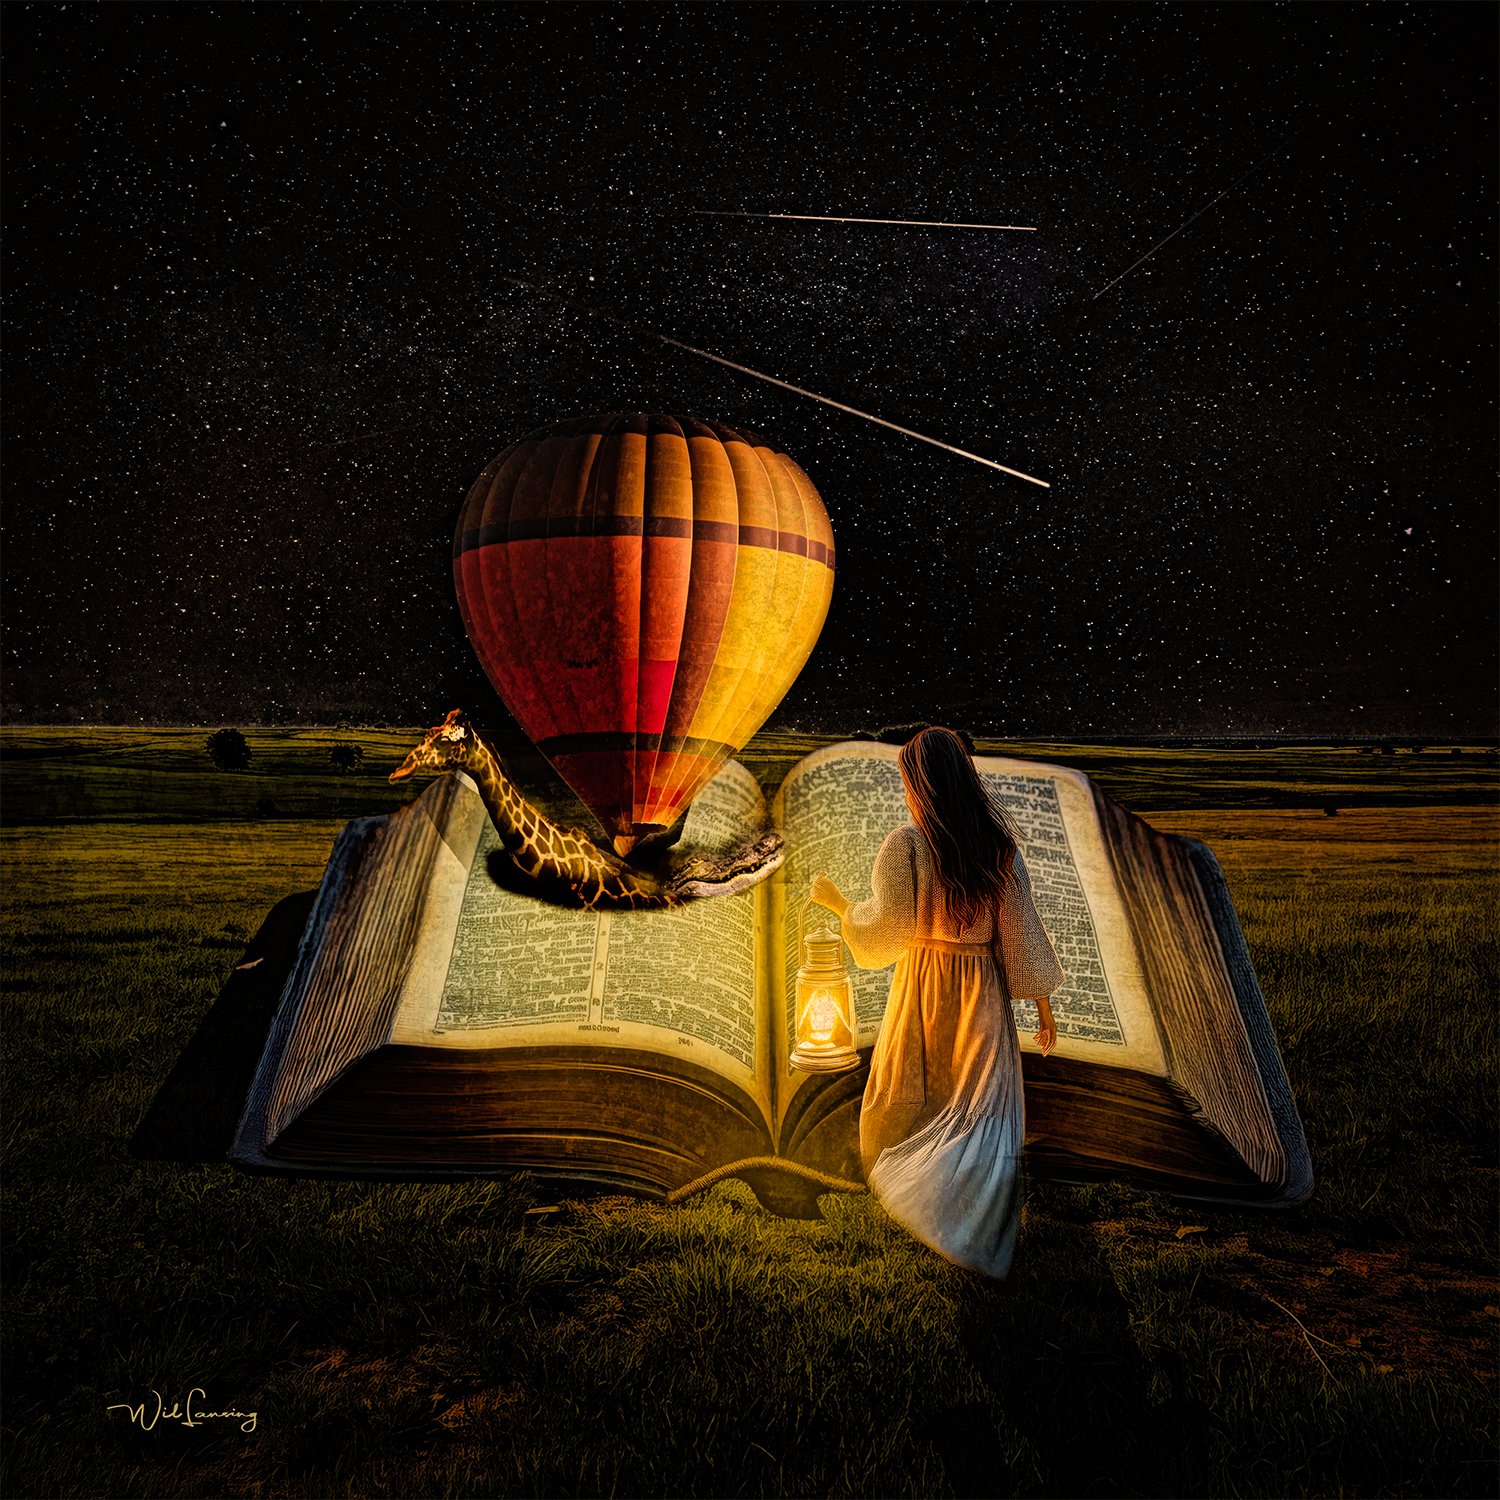
“The Adventure Of A Lifetime”
Week 52 is finally here! Admittedly the 52 to well over a year due to severe eye problems but we finally made it!
I am particularly proud of this piece. It was sparked by the love of reading my mother and grandmother instilled in me. I had been thinking about this idea for a few weeks and was going to actually do the book pic myself, but with all the work on the new youtube channel I just ran out of time so I used a stock book. Most of the rest is mine except the girl with the lantern. I didn’t have a model so thank you mid-journey. I haven’t decided if I am going to officially start another Project 52, but I’m still going to be getting something out at least once a week.
Project 52 - Week 51 - “San Fernando Cathedral - Watercolor”
It's week 51 of 52 and we have another watercolor. The reason we have a watercolor is that I created this for a YouTube tutorial showing how to do the watercolor technique. It should be released on the "Wil's Digitals" channel on July 24. So if you've been wanting to see how I do the watercolor technique, now's your chance!
Project 52 - Week 50 - “Strange Bedfellows”
Welcome to week 50! This week we are back to just plain surreal instead of dark surreal. This week's piece came to me when I was looking at some artwork of someone I admire. There was a wonderful picture of a Rhino and something in my head said "He needs a pet kitten!" So that's what I set out to make. I really like the way it turned out. It reminds me of an exhausted mother whose kid is still raring to go!
Also, don’t forget that Wil’s Digitals will be launching on YouTube tomorrow!
Big news if you want to know how my composites are made!
I'm launching a YouTube channel called Wil's Digitals on Monday 15 June 2024! It's going to have tips, tricks, and tutorials on Photoshop and composite art as well as breakdowns of some of my pieces showing you how they were created. If you are interested in HOW I create these composites, Wil's Digitals is the place for you. Please check it out!
Project 52 - Week 49 - “Finality”
Finality
Welcome to week 49! This week I added one more composite to the “ABCs of Sorrow” series. It’s called “Finality”. I think it’s going to be the last in the series while I take a pause, although definitely not the end of the series. I have wondered if having “Finality” be the end of the series wasn’t somehow appropriate, but I just don’t think I am done with the series yet.
I think it’s time to try something a little happier and see what comes of that. Maybe I can find some happier series to start work on. You’ll just have to wait until next week to find out. Stay tuned!
My First Exhibition!
I have exciting news! I entered my first-ever juried exhibition and actually was accepted! I was surprised! The exhibition is with the National Association of Digital Artists and the the title of the exhibition is “Home Sweet Home”. When I saw it, I knew I had a pretty good composite already created called “Home Sweet Home”.
If you want to see the exhibition, which I highly recommend, you can see it at http://pixmuseum.org/ . The other pieces exhibited are outstanding!
Project 52 - Week 48 - “Exhausted”
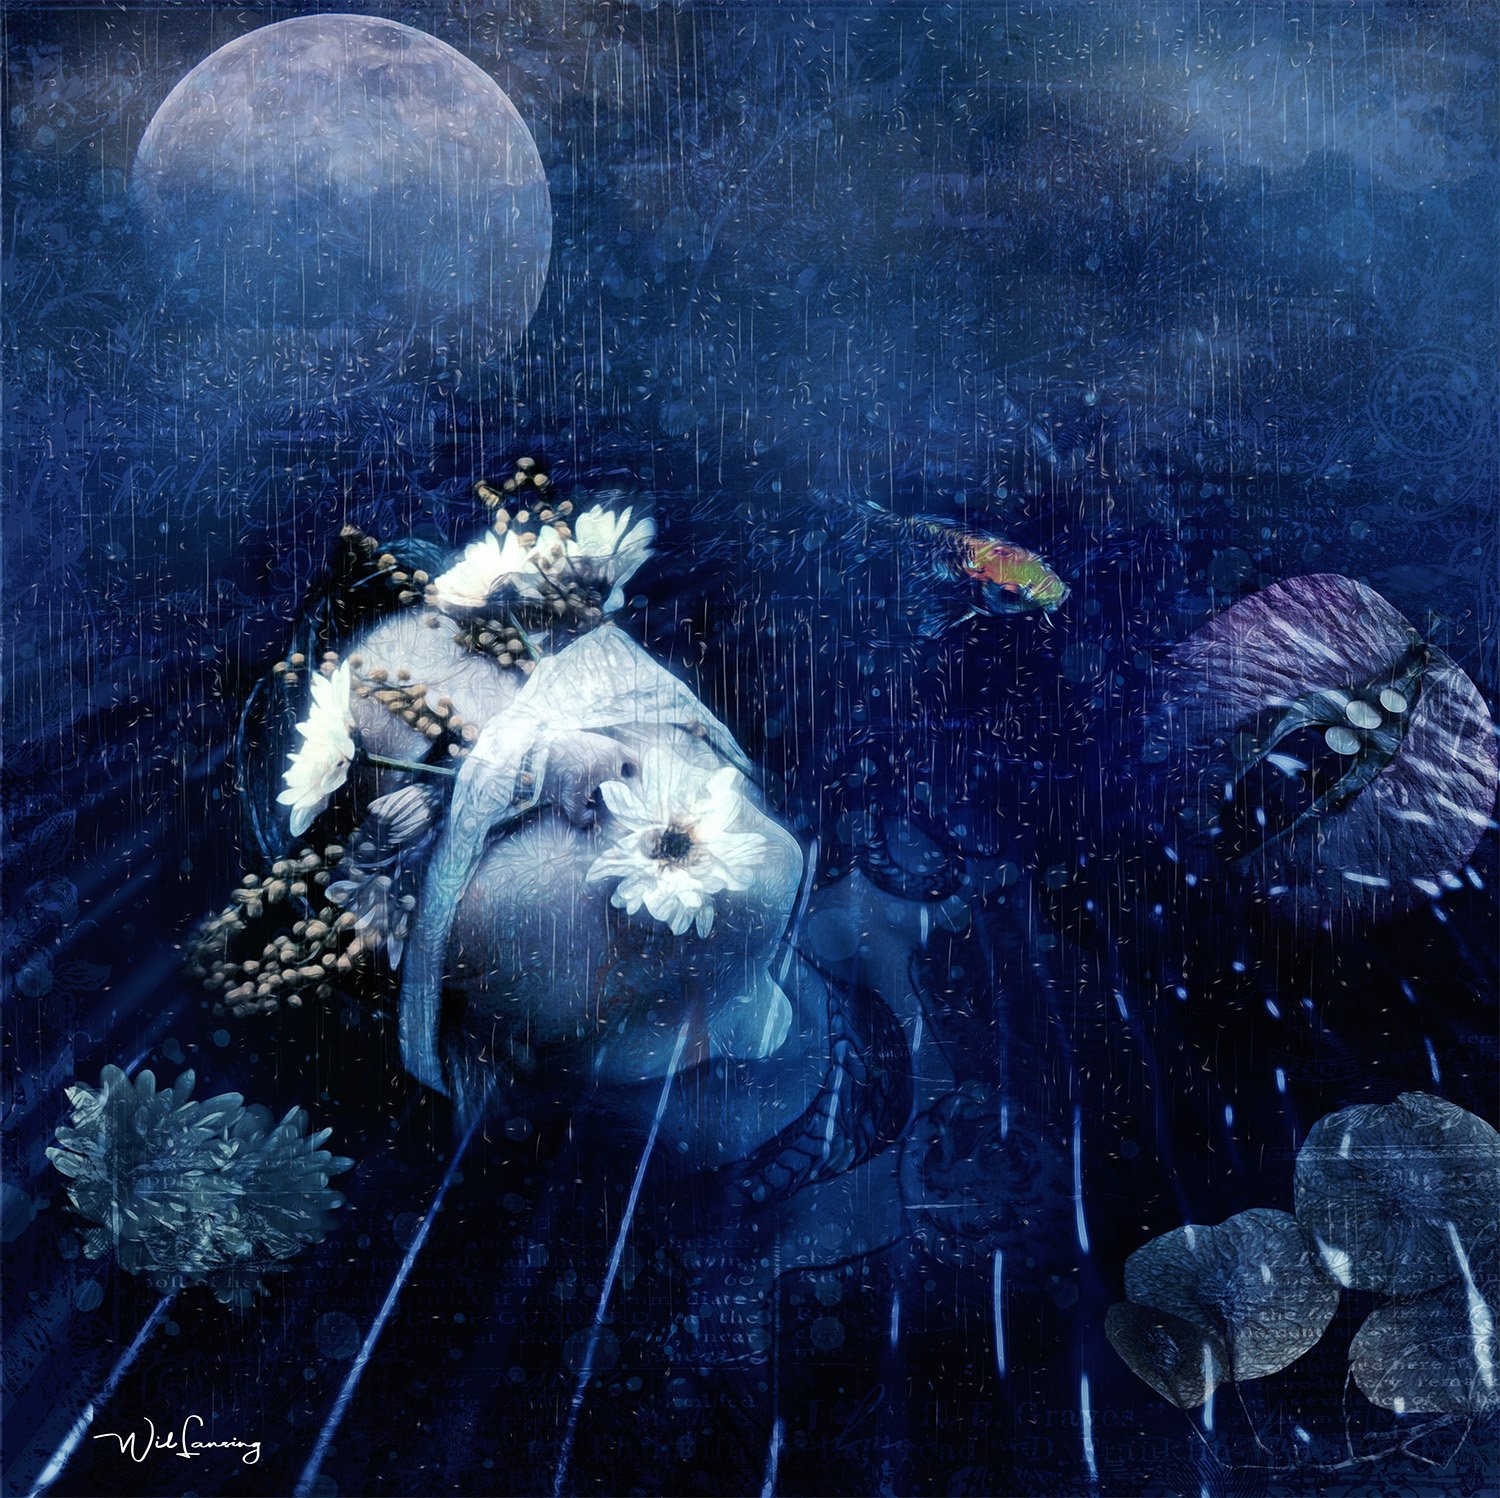
This weeks piece is the next in the “ABCs of Sorrow” series. For those who haven’t noticed, I started the titles with “A” and we are now up to “E”. “E” was a hard one to find a title for. I finally settled on “Exhausted” but then struggled with what it would be about. I finally came up with someone passed out in water and it just went from there. I like the way it turned out.
Project 52 - Week 47 - “Decisions”
Decisions
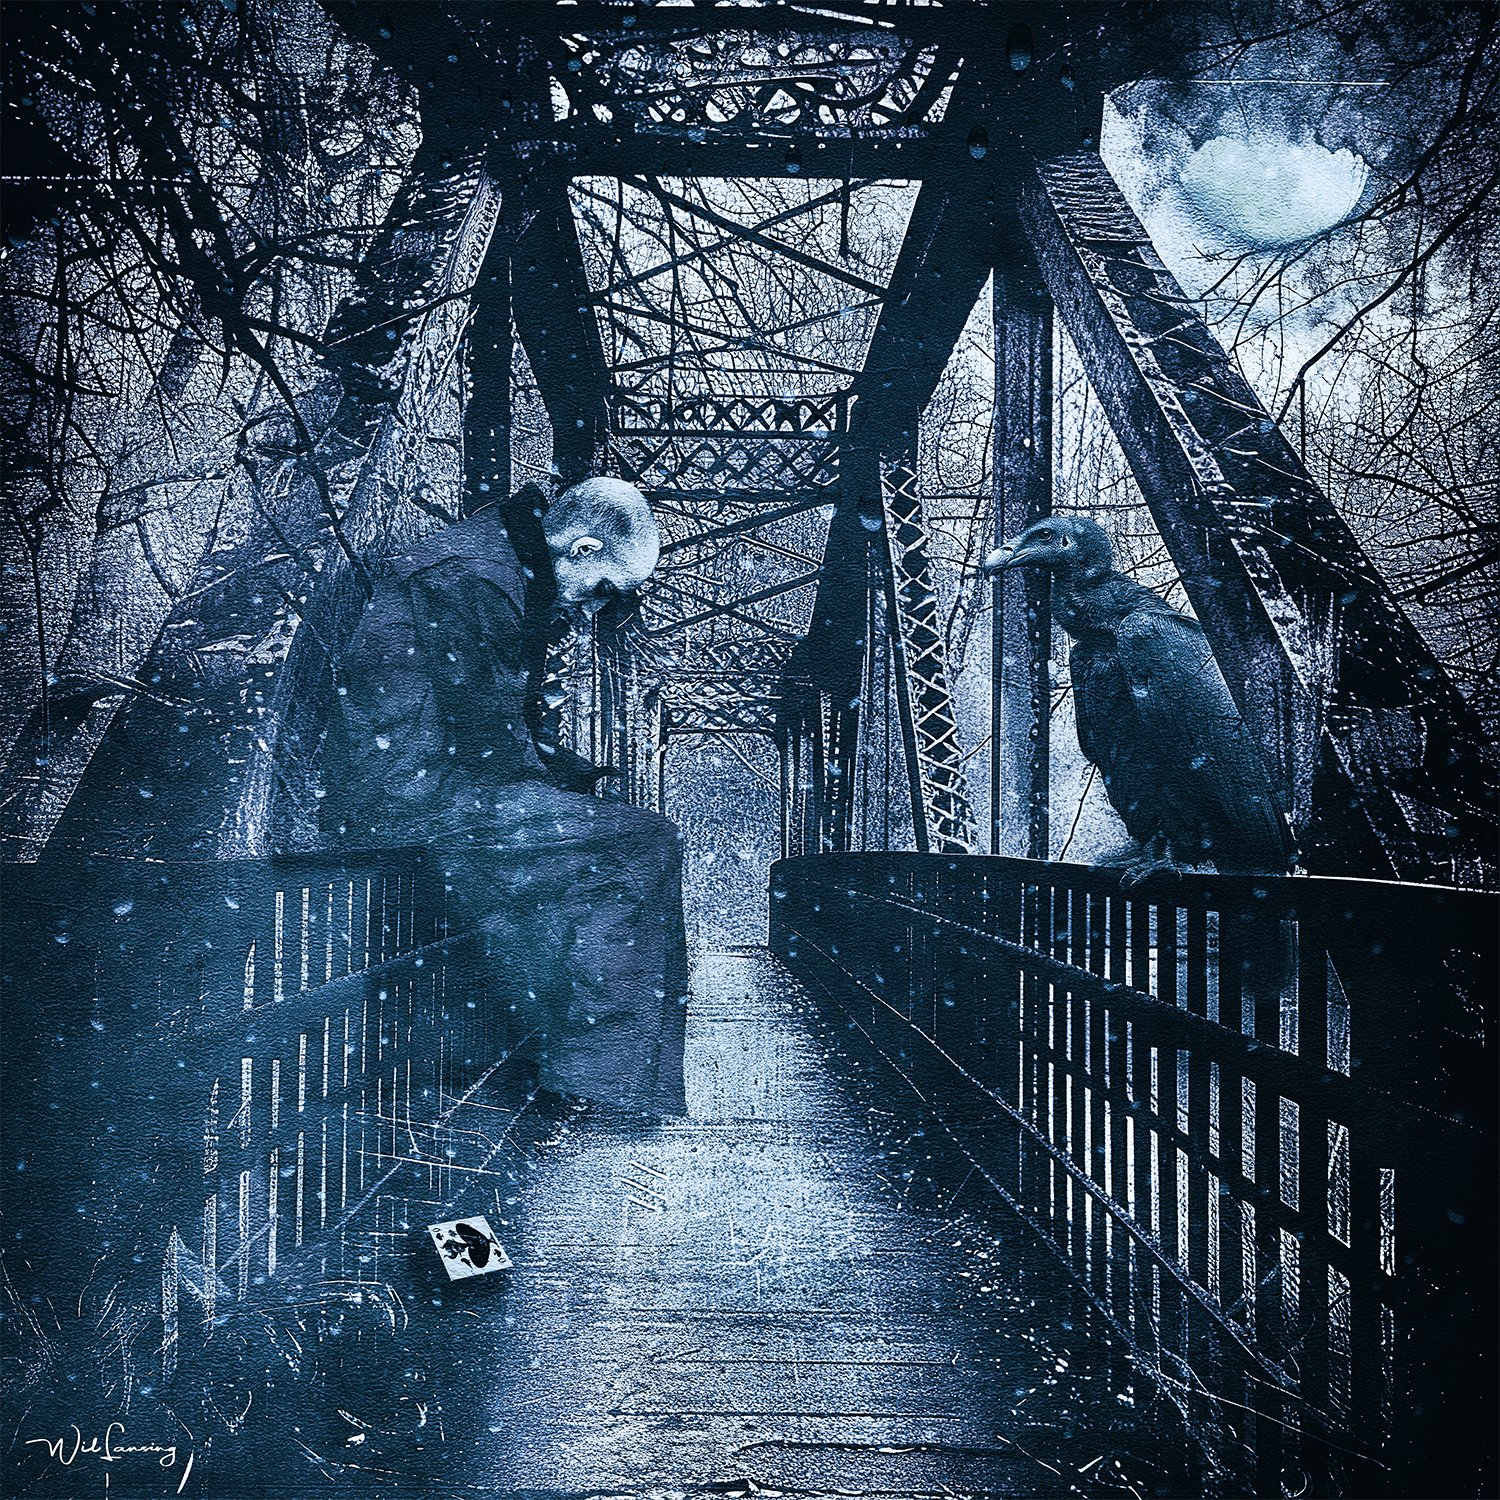
After taking a short break to make a happy composite, I’m back working on the “ABCs of Sorrow” series. This one is called “Decisions”. What “Decisions” are being mulled over, I’ll leave to your imagination, Dear Viewer. (I think maybe I am watching too much Bridgerton). This one took me a while to get right. I had some major coloring issues that took me quite a while to figure out. It went in several directions before I found the right path. I’m trying to work with similar or complementary color palettes with the other composites in the “ABC’s Of Sorrow” series.


